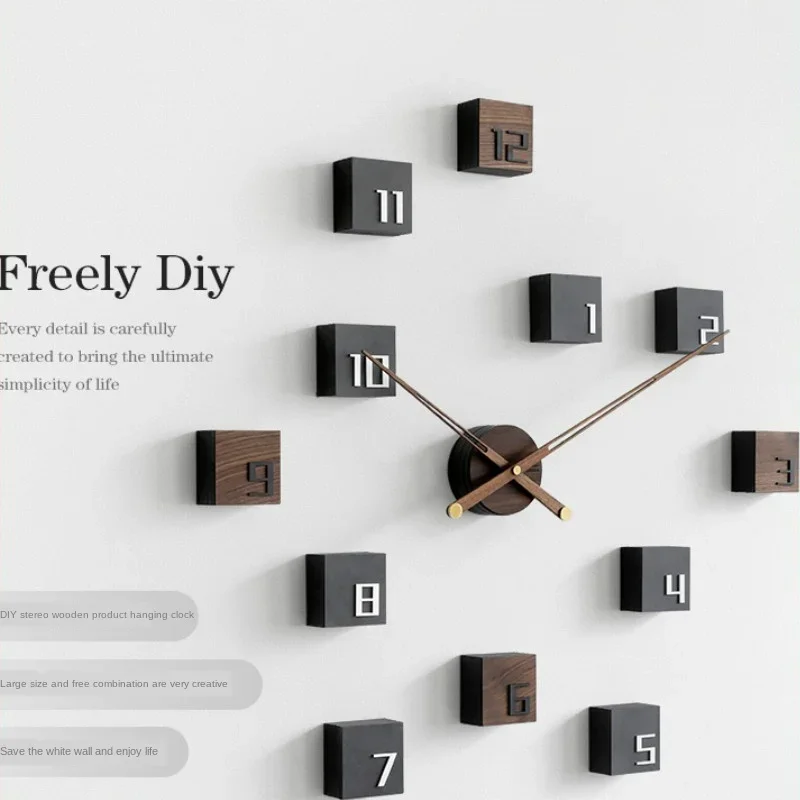
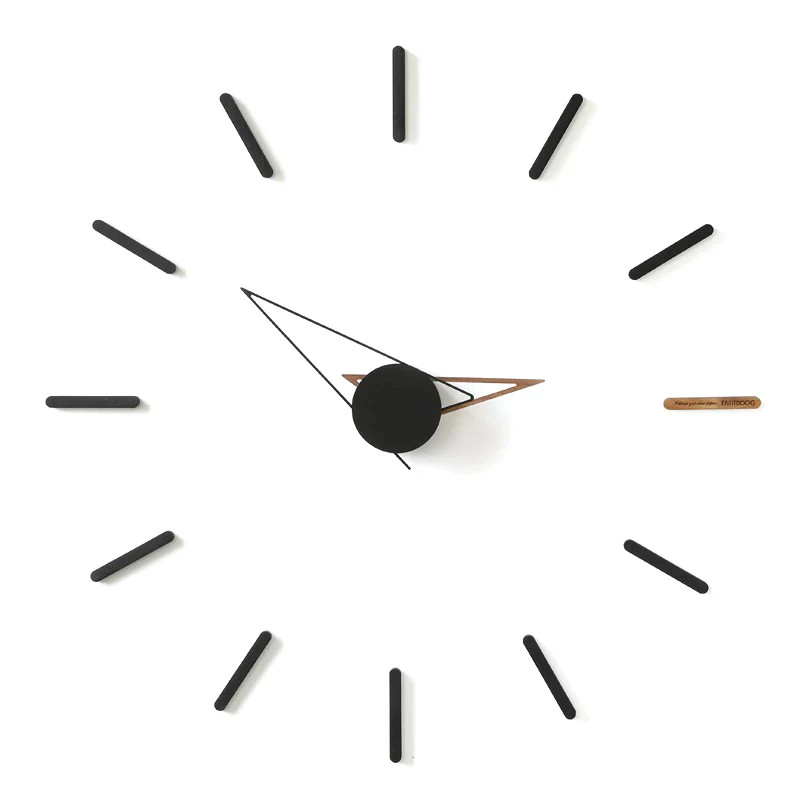
Installing a DIY wall clock can be a fun project! Here’s a step-by-step guide to help you through the process:
Materials Needed:
Clock mechanism kit (includes clock movement, hands, and a battery holder)
Clock face (this can be made from wood, canvas, or any sturdy material)
Numbers or markers (stickers, paint, or cutouts)
Drill or a sharp tool (for making a hole in the clock face)
Battery (usually AA)
Ruler or measuring tape
Pencil
Level (optional)
Instructions:
Choose Your Clock Face: Decide what material you'll use for your clock face. It can be wood, a canvas, or even a decorative plate.
Design the Layout:
Determine where you want to place the numbers or markers on the clock face.
Use a ruler or measuring tape to evenly space them, if desired.
Mark the Center:
Find the center of your clock face and mark it lightly with a pencil. This is where the clock mechanism will go.
Drill a Hole:
Use a drill to make a hole in the center mark, making sure it’s large enough for the clock mechanism shaft to fit through.
Attach Numbers or Markers:
If you're using numbers or markers, attach them around the clock face using adhesive or paint, ensuring they are evenly spaced.
Install the Clock Mechanism:
Insert the clock mechanism through the hole from the back of the clock face.
Secure it according to the kit's instructions, typically using a nut to hold it in place.
Attach the Clock Hands:
Follow the instructions in your clock mechanism kit to attach the hour, minute, and second hands.
Make sure they’re positioned correctly and can move freely.
Add the Battery:
Insert the appropriate battery into the mechanism.
Hang the Clock:
If you’re hanging the clock, attach a hanging hardware or a hook to the back.
Use a level to ensure it hangs straight when mounted on the wall.
Set the Time:
Use the adjustment knob on the back of the clock mechanism to set the correct time.
Final Touches:
Step back and admire your handiwork! Adjust the placement or make any tweaks as needed.
Enjoy your DIY wall clock project!


Reviews({{commentRowsTotal}})